There are many reasons to have children, too numerous to list here, but surely the many occasions to enchant friends & family with kid photo opportunities is amongst the best ones? Happily, the rise of social media and smart phones has given us even more opportunities to delight (derange) our loved ones with photo opportunities aplenty; once limited to the annual holiday card snap, we now have a host of fall events to (over)share.
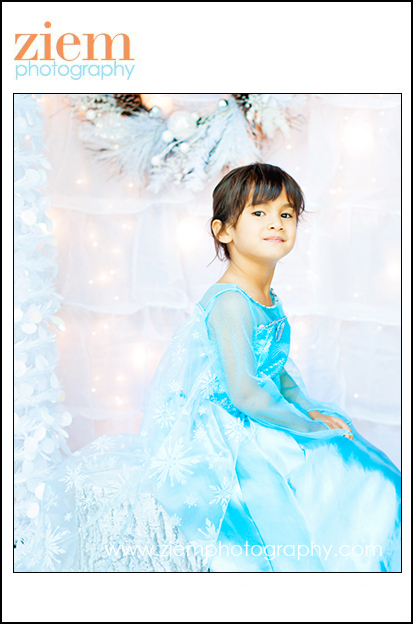
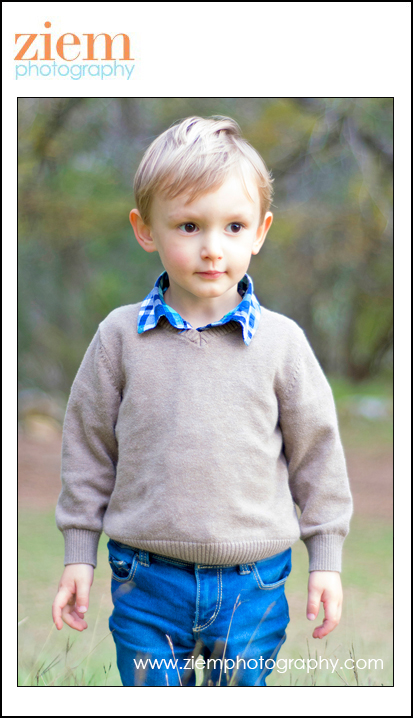
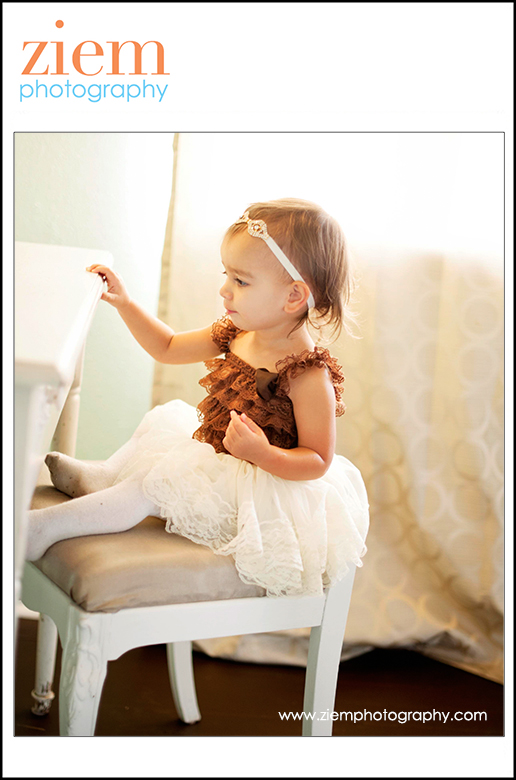
Speaking of opportunities to (over)share photos of your kids, please feel free to effusively praise the models here, Ziem’s youngest Zara & my pumpkin Paige:

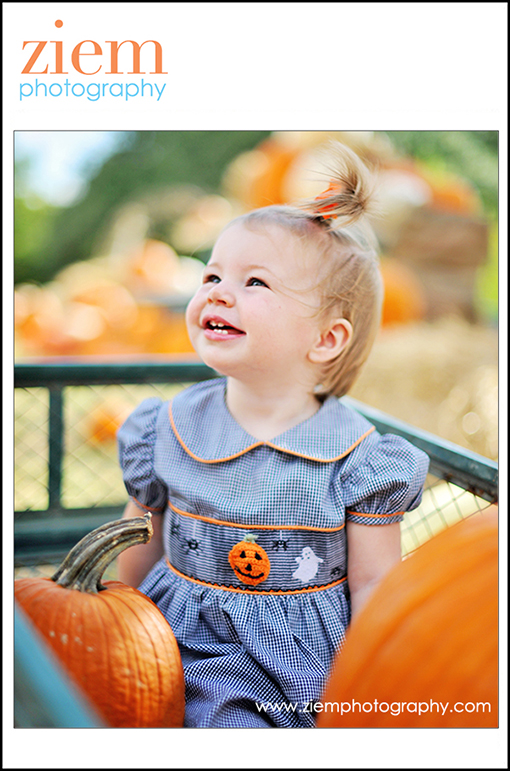
If, however, we’re going to treat (terrorize) one & all with photos of our progeny, all the better if those photos are top quality. After all, if we don’t get the right lighting or framing for our shots, how will our Facebook friends know that our wee geniuses are destined for greatness? To that end, photographer-in-chief Ziem is teaching us today how to take the best fall photos on our own, since we don’t always have our favorite photographer on hand. These tips are really applicable to all outdoor shoots but are tailored in timely fashion for pumpkin patch season.
First, dress your little “pumpkin” appropriately. Whether it be a Halloween costume, traditional frock, or fall chic, comfort is also key. Don’t overdress them in anything scratchy, and be prepared to deal with mosquitoes, ants, mud and in our situation a PIG (yes, really). In Austin, mosquito repellent and comfortable shoes are requisite. When your child feels comfortable it will show in photos.
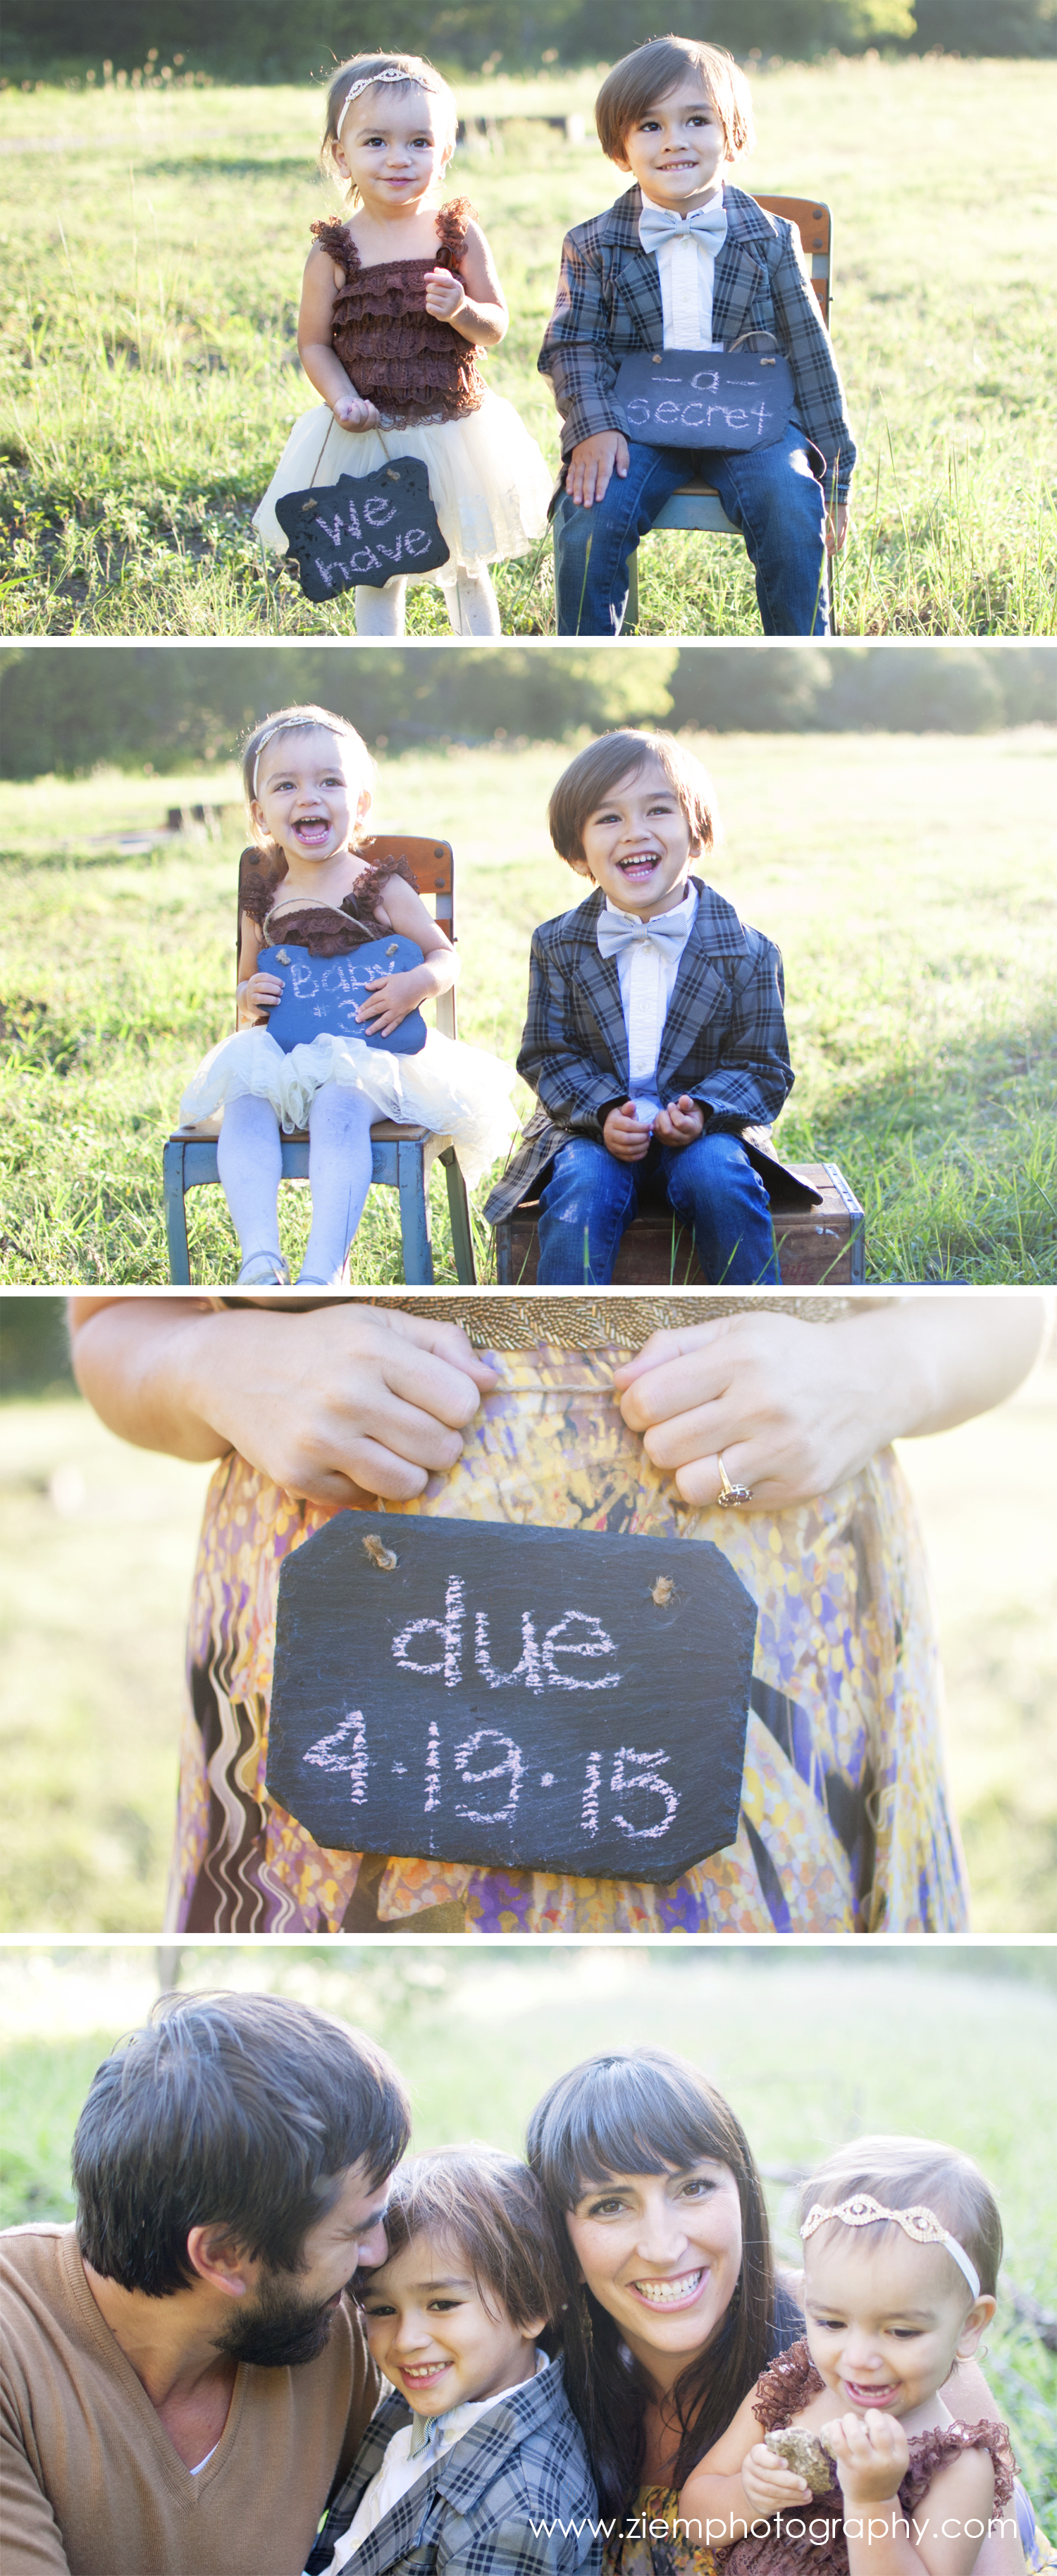
Also, try to bring another adult to help keep the kids engaged & safe, as well to allow you to hop in a few photos. Just check out that unusually good looking mom in the following photo *coughs* #mememememe:
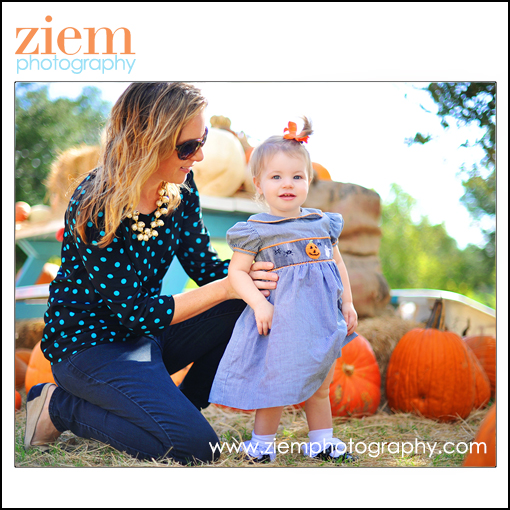
The best times to shoot at an outdoor locale like a pumpkin patch are at one hour before sunset or at sunrise. Given that this doesn’t align well with sleep and dinner time, a cloudy day would be the perfect time to run out to visit your local pumpkin patch. Pumpkins look particularly great when shot in well-shaded area without distracting hot spots.

As far as staging your shots, stack pumpkins to create dimension and height, but try to put them either below or above your toddler’s height to avoid pulling focus.
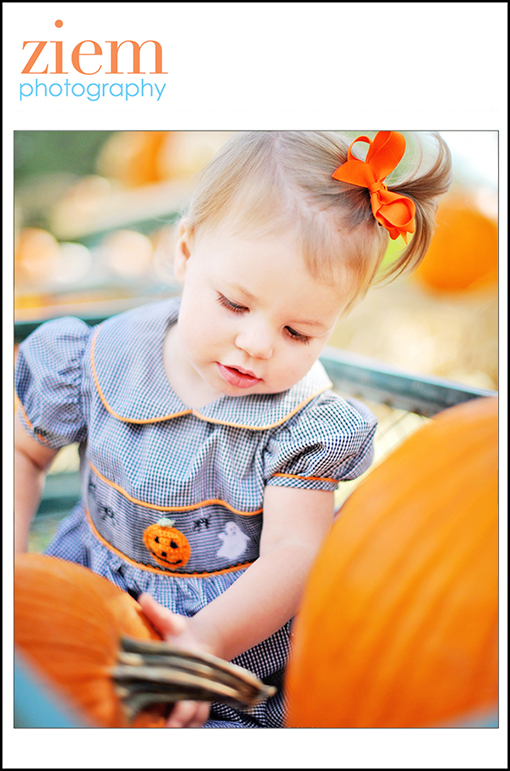
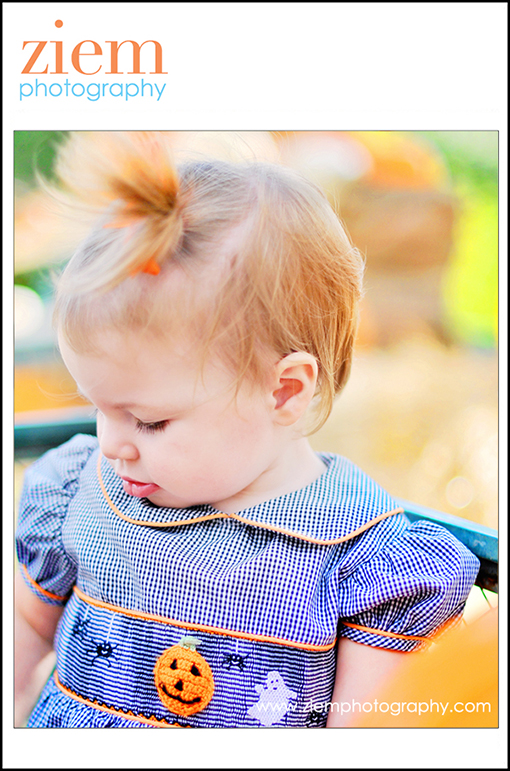
Bring a wagon if you have a newly walking toddler (talking about you, Paige!) as that will keep the little one off his or her feet (and running away from your camera) for a few frames. It doubles as your second set of hands when paying for and transporting the pumpkins to your car:

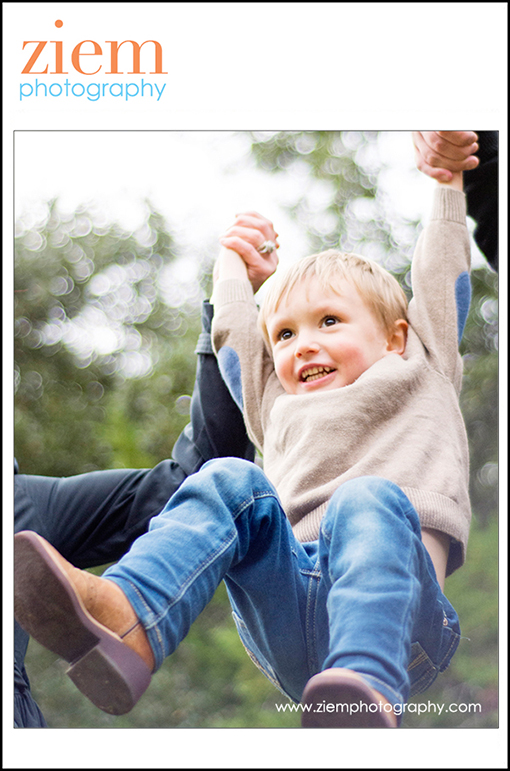
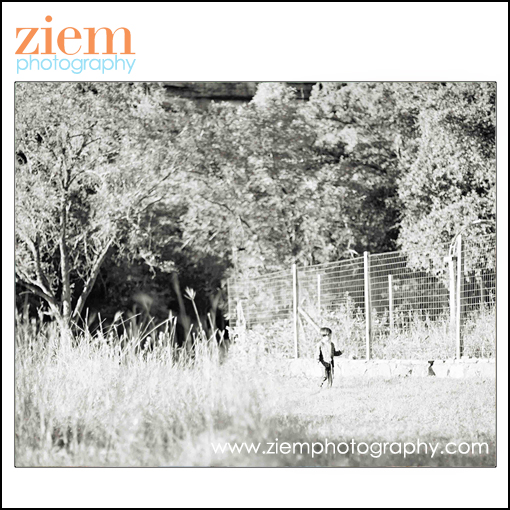
Though it’s clear these photos are staged, that doesn’t mean you can’t snap some candid shots of your kids picking out a pumpkin, sitting on a pumpkin, or walking around patch:

If you’re not able to visit a pumpkin patch, you can also purchase a handful locally and stage an at-home patch. Shoot wide and fill the frame with pumpkins to make them appear more plentiful. Don’t be afraid to try different angles – for example, shooting from above or profile shots.

With these seven pro tips, your above average children will be the cream of the pumpkin patch Instagram crop – which is, of course, the point of the whole exercise. We kid, of course – clearly it’s only some of the point. Either way, happy shooting!


